Tuesday 4 December 2012

Interaction Studies_Out of these world_Zeugen (Morgan Rauscher)

Artist: Morgan Rauscher
Year: 2009
Content: Zeugen is an interactive and new media electric artwork consist of 32 human cast robotic faces and a face tracking system, which together follow the movements of viewers in a gallery space.When the viewer look at the artwork, in the same time it also being "seen" by the artwork.


Reflective Questions
1. What attracted you to this picture of interactive art in the first place?
At the first glance, I think that most probably attract me is the 32 human cast robotic faces can follow the movements of viewers in a gallery space. Besides, is the eyes color, face shape, animatronics motion gestures made by the robotic eyes. When the viewer get closer to the artwork may realize that the face have unique features.

2. How did you feel when you first saw this interactive art?
For me, I think it is a new immersive media sensations can result from the interactions between viewers and electronic artwork and strongly achieve the interactions between human being and electronic machines.

3. What elements made this interactive art successful in engaging you?

The high tech, kinetic tech side and the polished face side are both important visual elements. The role of the participant of Zeugen has twofold when the viewer approaches the artwork, the 32 artificial eye lids will open. But if the viewer is looking at the tech side of the artwork, their interactivity role is absent. Viewer can experience a visceral event and are motivated to internet and play with the artwork.

4. What was the "wow" factor for you?
The "wow" factor for me on this artwork is Zeugen has a technical function like the artwork uses face tracking software to locate and follow faces so that the robotic eyes can make eye contact with the viewer. All the robotic eyes will follow viewer's movements when the viewer's face is recognize to the face tacking software. To me it is a creatives exploration into the sensation of seeing and being seen.

5. If there is one thing that you want to add to this interactive artwork, what would it be?
If possible, I would like to add mouths into this artwork and it can produce sound to share the randomize ambient soundtrack. With this play on visual and audio, these artwork can be more attractive compare to the previous one.

Thursday 10 May 2012

SEM 3 Adobe Flash!!

In this sem we had learn the Adobe flash to make video editing..
It is my first time using this software..
After few months of learning, I'm happy to say that I had already know how to used it =)
Whereas I'm still not so good in this software, but I will continue to enhance and make the improvement =)
Because I like to learn many things~
After foundation year I will proceed to Degree.. and I will continue posting my every assignment or artwork in my blog and share it with other as a learning journey =) 
Below is my visual research & communication 's assignment
It also create by Adobe Flash CS4
This video is about a scenery of old railway station
(actually is describe my hometown-Kluang railway station) It looks nostalgic =)
This is another assignment I using Adobe Flash....=)

Assignment 2 - A kinetic Typography Assignment on Patriotism


This time is a group assignment. There are six members in a group.
My group name is "Bob" and we're required to work together to produce
a kinetic typography assignment theme - patriotism.
After the discussion, our group have chosen a rap song
as the background music for this assignment.
The song entitled Malaysian Boy - by Altimet, DJ Fuzz, IIa Damiaa, Point Blanc & Rabbit Mac
This song included multiple language from our country Malaysia.
There are Malay, Cantonese and Tamil.
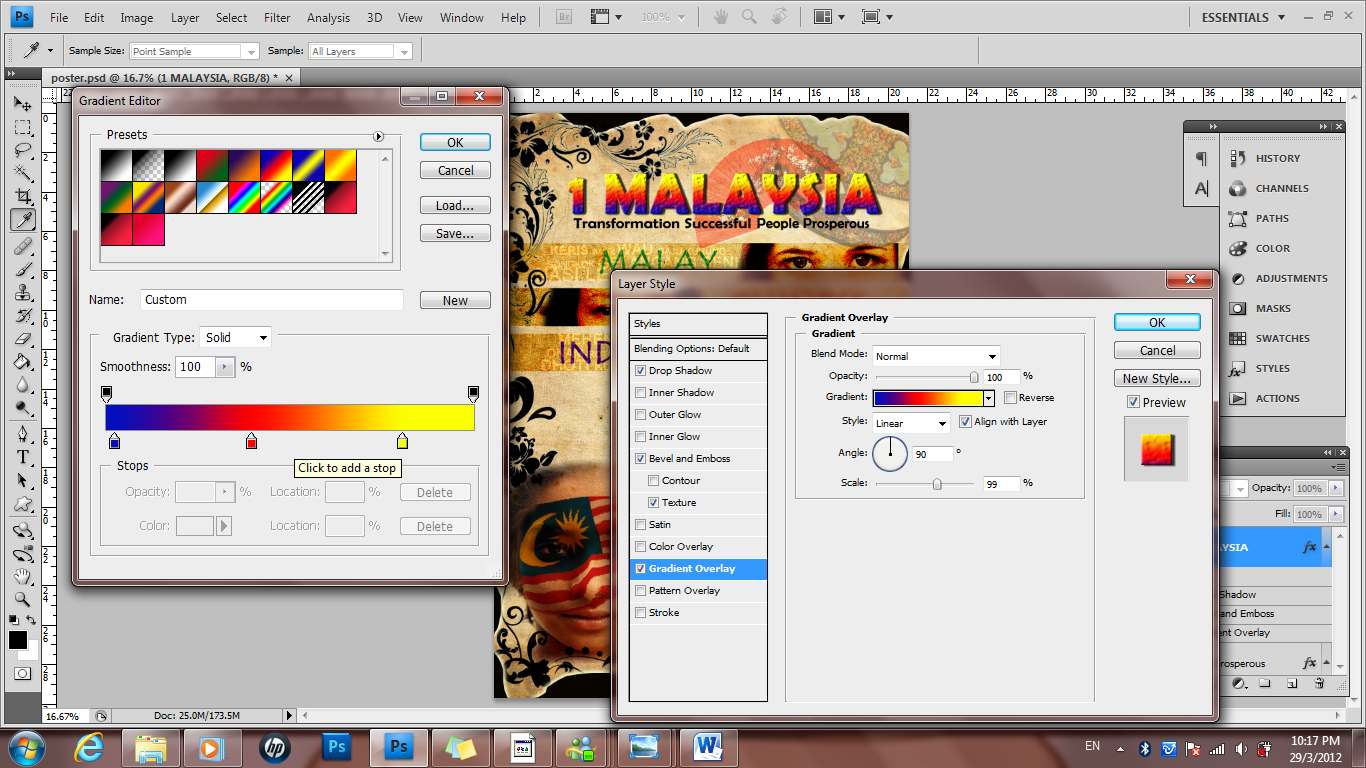
I was given the part to trace icon by using Adobe Illustrator and also Adobe Flash to
animated one part of the song ( The Tamil rap )
Below is the icon that was used in this song..

(1) Malay part
Hati (heart)
Gadis (lady)
       

Nombor Satu (number one)
Masa (time)


Below is the step that how I using Adobe Illustrator to trace icon (malay part)
1.This is an icon I download from internet and I want 
to trace it become colors. 
2. When I trace something I will using pen tool to draw 
 the outline and fill up the color, as you can see I trace the hair by using dark brown.

3. I will open the "PANTONE SOLID MATTE" to select which color I like, 
here got many different type of color. Last, remember to lock my every layer to avoid careless adjust and close the eye of the original picture. 

4. Next I want to trace is the word number one, I used satu malaysia logo to 
represent it. I download it from internet (avoid to used internet picture because
 it will pixelated when magnified) so I decided trace it myself.

5. To select the most closely color I drag the original picture aside
and using eyedropper tool click on the original color to transfer it into my icon.

6. After done my tracing you can see the comparison between this two satu malaysia,
the new icon was less pixelated than the original picture
*the heart and time icons also used Adobe Illustrator in a same method 

(2) Cantonese part

Below is the step that how I using Adobe Illustrator to trace icon (malay part)
1. First, I trace out a brain by using pen tool and made the stoke
became thicker to create a dark outline.

2. Next, I trace the nervous one by one accordingly by using dark pink 
to differentiate the nervous and brain color. It look nice and real.

3. The final icon had total 27 layer and had already locked it together.

4.This is the eye 's picture download from internet and I want to trace it
and remove the eye tear. As you can see, it is very pixelared.

5. After tracing the eye tear was remove and I had changed the eyeball's color.

*other icon also used Adobe Illustrator in a same method

(3) Indian part

Below is the step that how I using Adobe Illustrator to trace icon (indian part)
1. This is the original picture that I want to trace.

2. First, I had trace the shadow of the hand. Then is the finger nail and hand

3. Final icon.

4. Next is the human icon, left hand side is the internet picture and I change it become
a woman (mother). I also trace some human icon, for example girl, father, mother, grandfather and grandmother.

                         
5. Next is Malaysian boy, I decide to merge the Malaysia flag into the human icon.

6. This time I using Adobe Photoshop to create this icon. First I place the human icon on
the Malaysia flag. Next using the magic wand tool to select the human and convert it.
Last, remove the selected part.

7. This is the final Malaysian boy icon.

Next is the step of using Adobe Flash to animated the indian part of the song.
1. First at all, I open a new layer in adobe flash and import all the icon into library
 including the song that I had already cut.

2. I had choose the background color in purple. The "vanakam" I used the classic tween 
to create the movement from right to left. The word of "everybody" and
"hi" also appear in the same time after few second.

3. I made the "hello" move vibrates by insert many keyframe in a layer.
 This will made it vibrates.

4. As you can see in the video, the earth will rotate this is because
I insert a new keyframe in every 5 seconds by using the classic tween.

5. I made the word "sempoi" rotate six times and from bigger become smaller.
Used classic tween and drag it become smaller and
go to properties to adjust the times of rotation. 

6. Next is the "tambi" and "tangachi". As you can see, "tambi" is come from right side and
"tangachi" is come from bottom to up.
This all I using classic tween to drag the position of the word.
After the "tangachi" come out the "tambi" will disappear .This is the adjustment of the timeline, want make it disappear shorten the frames.

7. Not only using the classic tween, I also apply the fly-out-right
from the motion preset to create another pattern of movement.
Window-Motion Preset-Fly-out-right.

8. Every part must follow the pitch of the song, so I need to estimate nicely the time taken.
As you can see got many frames in my time line in order to create a good effect of my moving word follow by the song.

9. I used different type of pattern and movement follow by the feeling of the rhythm.
This is the final frame. Inside this video, not only the word, we also apply many icons as a metaphor to represent the word. 

*that's all for my part doing this group assignment.
my group member-Michelle Tan did the first few sentences,and I continue carried the rest =) 
The final video had uploaded on my leader's blog.

Wednesday 9 May 2012

Final Artwork Assignment 1

I did some improvement on my poster.
As you can see, I had already add the "WE LOVE MALAYSIA"
on my poster, and inside had many  small colorful typography 
This is my final artwork


Next, proceed to the Adobe Flash

1.I import those element into the library in Adobe Flash
Then I start to work with the animation.

2. All this is the layer of frame. To prevent confuse, I had rename it one by one in a different name.


3. This is the making process.


This is the link of my final moving poster

Friday 30 March 2012

Second Draft of Assignment 1

After the computer graphic tutorial class..when i went back home i had think a lot
and refresh what our lecturer talked to us that day..
"Now we are in university life..it is really different with secondary and primary sch..
arrange our time and think clearly what I'm going to do"
Ya..I 'm agree that our Mdm Lydia's word..
We need to think clearly when we do every decision..
think clearly what is the task of our assignment actually want...
and improve ourselves from the mistake..  =)
Since from the first draft I did..actually I'm not really
satisfied with it...so, this time I had already upgraded a lot compared to my first draft.
As you can see below...
This is my idea for the second draft of assignment 1 [final]
I did this poster by using Adobe Illustrator & Photoshop


My poster workflow A:Using Photoshop
1. First of all, I decided apply the three main races' eyes to represent 
Malaysia is a multi-cultural society.
So, I using the marquee tool to cut out the eyes. 

2. Next, I using the lasso tool simply draw the outline of my poster 
to create a design..

3. Adjust the effect by using the outer glow from the layer style, make it more emerge..

4. Open a new image, vector graphic of national flower and using 
Lasso tool again to draw out which part you want..

5. Convert the color and merge the layers into one
we had learn tis before (vector graphic blending)

6. Drag it into my poster.

7. Select darken effect..the hibiscus will become black color..


8.Then, using type tool to type the words
(all this words are related to the races' culture)

9. Then, open a image of indian girl and our Jalur Gemilang.
I'm try to blend the Jalur Gemilang onto her's face..

10. To make the flag look more like real painting on her face, 
I go to Filter > Distort > Displace
and lower the opacity

11. As you can see, change the effect from normal to multiply
and it look more real blend with the face..
and u can see the eyes are also blend with the flag
then I using the Erase tool to erase the surrounding of her eyes.

my poster workflow B: Using Adobe Illustrator
12. Now, I come to Adobe illustrator to trace out the vector graphic.


13. Using Twirt tool to make some swirl (like a design of leaves)

14. and I also trace out a Malaysia city
(do not use the internet picture it looks like very pixelated )

Come back to Adobe Photoshop
15. using type tool to type some words to delivered my message of patriotism..

16. Then, I using Gradient editor to adjust the color of  "1 MALAYSIA"

17. Last, type some words in the background to make it more interesting..
(some characteristic of Malaysia)